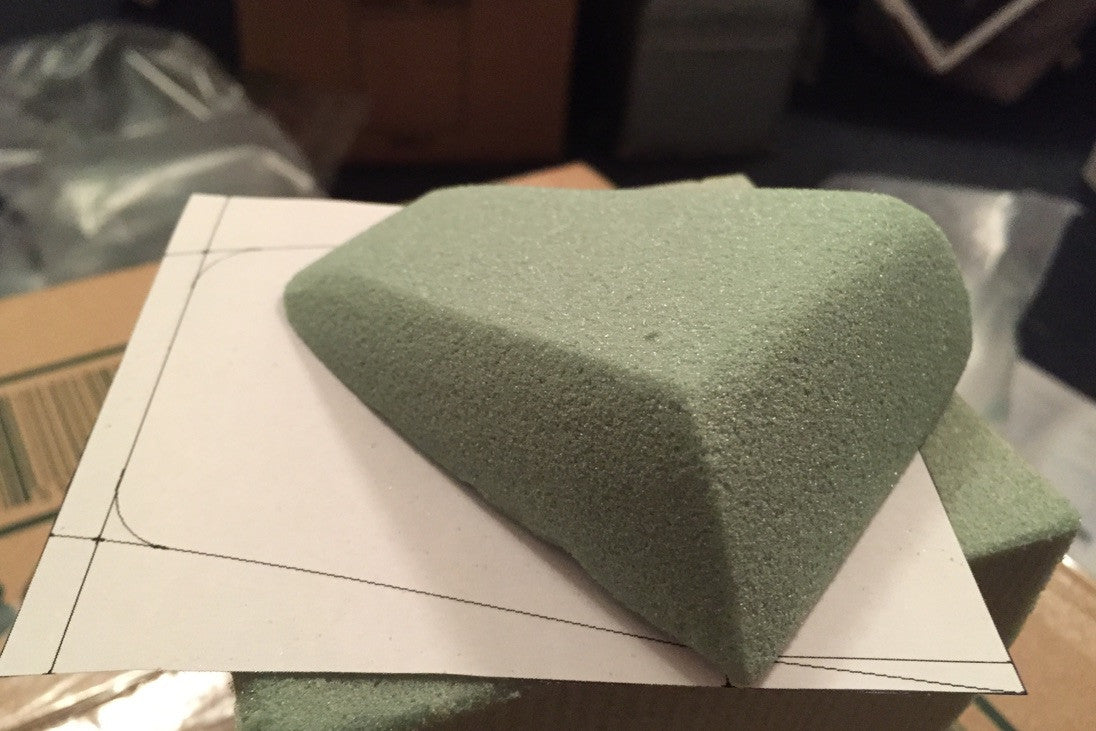
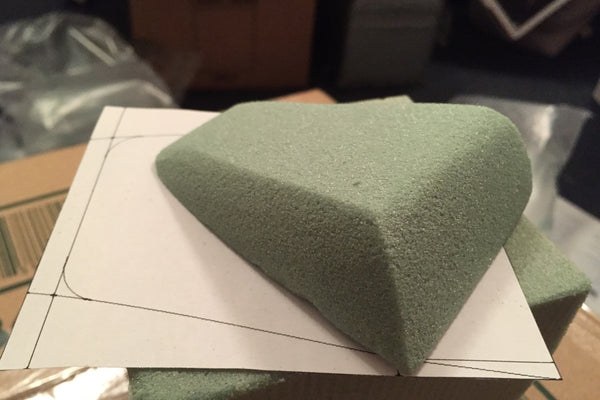
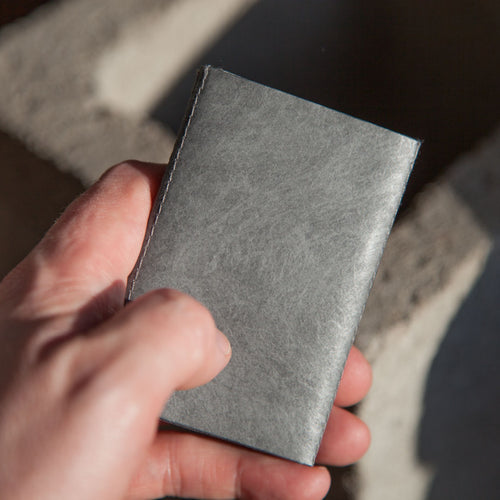
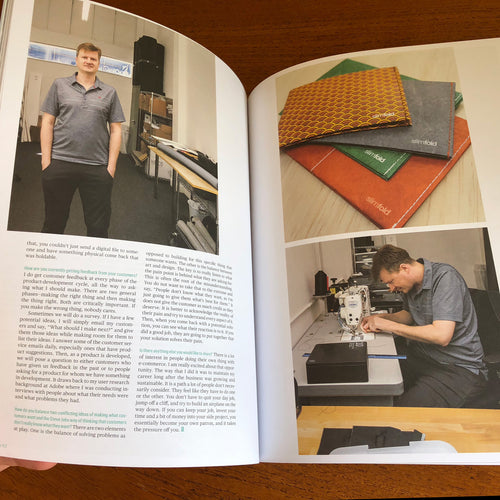
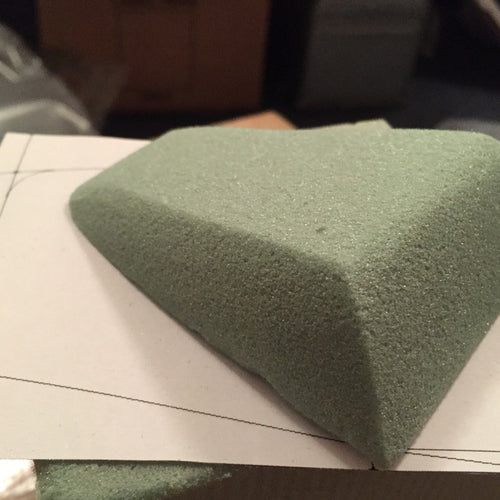
Coming from an Industrial Design background where most products are injection molded, it’s been interesting for me to learn about how soft goods are produced. In fact, during my design phases, I used several 3D modeling techniques, both physical and digital, to arrive at the form of the Slim Pack.
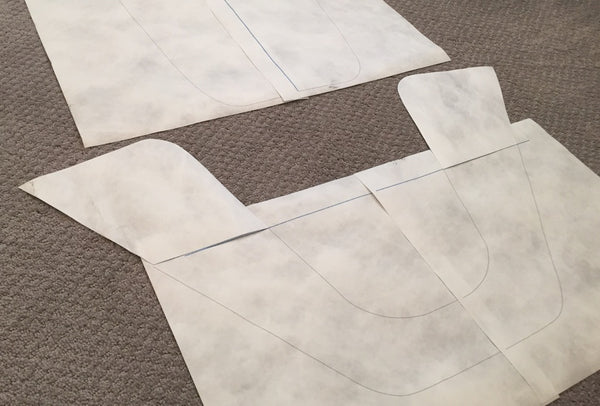
Then an interesting translation had to take place to determine exactly how the form could be made using only flat fabric. During the prototyping phase, much of this was happening on paper. The first patterns were printed from Adobe Illustrator on my computer onto Tyvek. (Most designers would use card stock manila paper for this but I use Tyvek because, well, the wallets.) These are easy to tweak and adjust while iteration is happening.
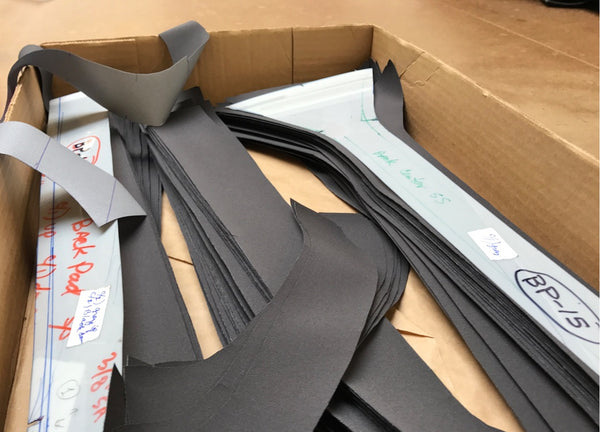
Once the patterns are final, they’re translated onto Mylar plastic. Sometimes sewing notes are written right on these patterns as instructions and alignment grooves are usually included to line up multiple pieces precisely. When it comes time to produce an item, the patterns are used to hand trace the shapes onto the material to be used. If only one item is being made, each pattern may be cut out by hand with whatever tools make sense depending on the complexity of the shape.
The next step of cutting is when say 5-10 units are being produced at once. In that case a stack of the fabric can be clamped together and cut at once using a fabric saw. Appearing very similar to a normal hand held jig saw with a thinner blade, very precise cuts can be made through many layers of fabric.
Even if you were producing 50 or possibly 100 items or more, it may still make sense to cut things in this way, just repeating the process to make more pieces. This is especially true if the item is made somewhere in which labor is very inexpensive.
In order to produce the 1000+ Slim Packs for Kickstarter backers, we’re using the larger scale production technique of die cutting. For this process, a separate steel die needs to be created for each piece. This is an expensive process done by skilled craftspeople, but once the proper pieces are made, it improves both precision and efficiency.
Therefore, I’ve decided to have dies made for almost every piece of the Slim Pack. The initial cost to produce the tooling will probably be right around $3k but I feel that it’ll make the product better as well as give us our best shot at completing the project on time. I'll let you know how they look once we receive them!
Stay tuned for more updates along the way... is there something you’d like to see in a future behind the scenes update? Let me know in the comments!

Wow! Pretty interesting read. I am happy to see that you are striving for early ship-outs without any compromise on quality. You are a role model for Kickstarter creators! Do share more of these, if any.
Thank you for the inside glimpse! It makes a difference to see how much effort and preparation is needed for an excellent product